

Transforming Our 1950s Cape Cod Into A Fresh & Modern First Home
When I was pregnant with our fist daughter, we had just moved back to PA from Northern Virginia and needed to buy a home. Our first home as a matter of fact, and we were limited on time because I was getting towards the tail end of my pregnancy. We ended up finding this cute little cape cod style home in a complete gem of a neighborhood. All of the homes were older and each one was different, which we loved. It was nestled in this neighborhood with tons of huge trees, it was so quiet and all that you heard were the birds chirping. We loved it and we honestly love a good project. We finally settled and moved into the house TWO WEEKS before I gave birth to my daughter! PHEW! This is what the front exterior of the house looked like when we first moved in…

It was cute and had so much potential, but wait until you see the inside. I couldn’t wait to get my hands on it. Here are the interior photos.

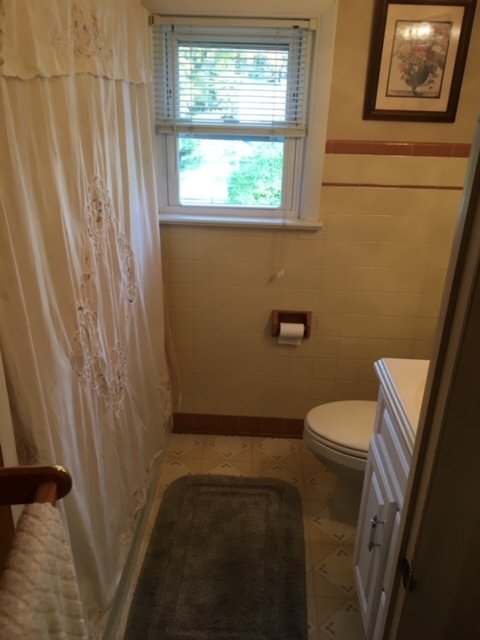

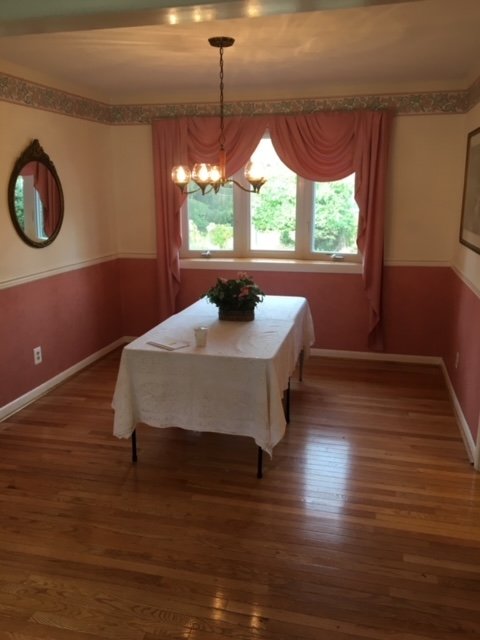

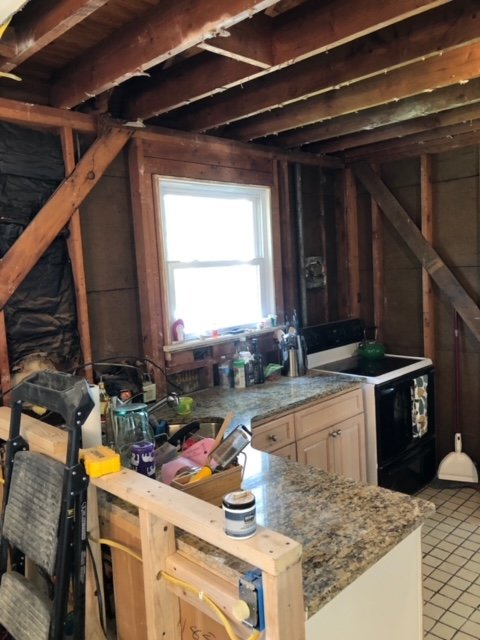
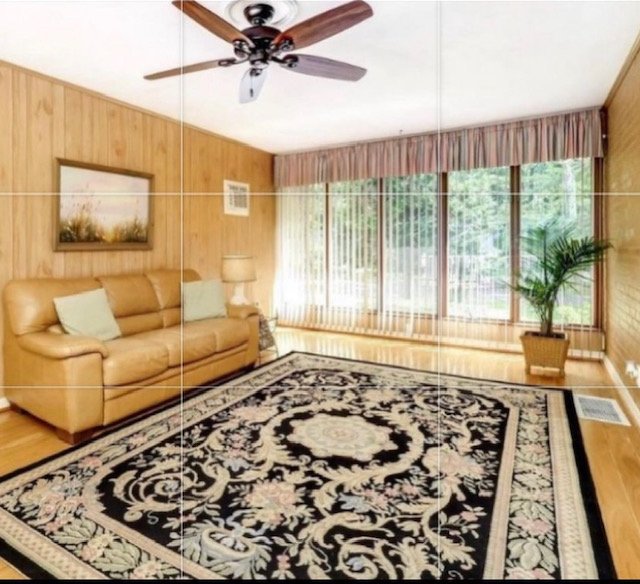
Alright, so as you can see… lots of pink, lots of really outdated wallpaper and tile, but I really did see major potential for this home. Because this was an older home and it just felt very compartmentalized and dark. I wanted to maximize our space and make each room functional for us. You can probably guess that the first thing that I did was rip down those pink swag curtains and we took off the wallpaper. This immediately made all of the spaces feel brighter! From the photos above, you probably notice that the dining room and kitchen are completely closed off except for a passageway opening. That was one of the main reasons that the realtor said many people were turning away from the house, because they wanted a dine-in kitchen. So, we made this our main project of the house and boy, did it make a HUGE IMPACT!
Here is what we did:
We opened up the wall between the kitchen and dining room and created a bar to graduate the two space together. The reason we did this is because the kitchen was so small to begin with, we couldn’t get rid of the bottom cabinets there on that wall. It ended up working out well, because our girls loved to sit at the bar and eat their breakfast!

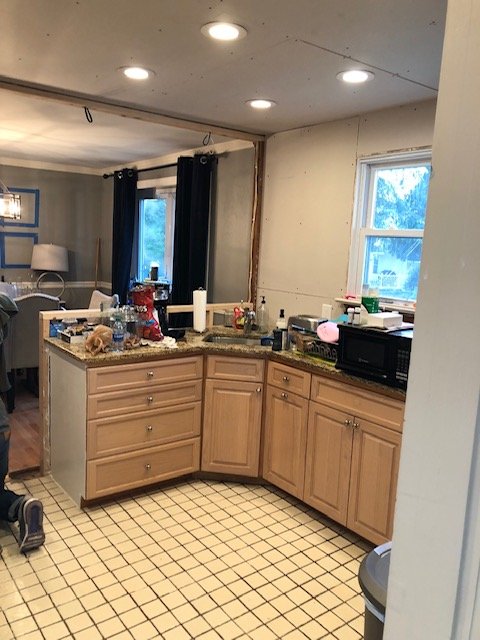
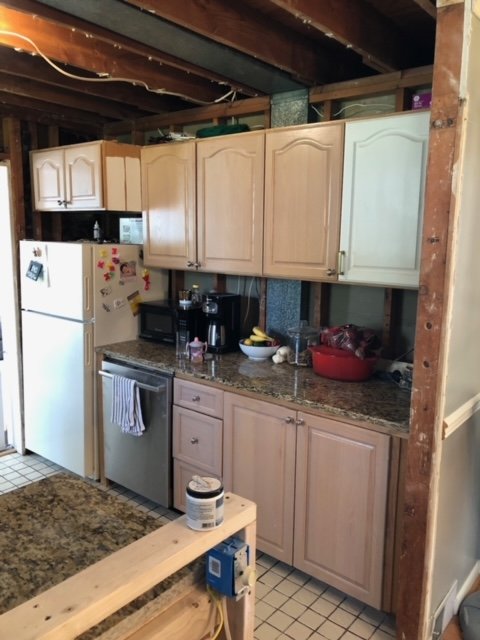
Can you see the difference already? It’s like a breath of fresh air not feeling closed off in those spaces anymore! You can see that we took down all of the wall cabinets on the wall that the window and stove were on. The reason that we did this was for it to really just feel more open and less heavy. The other side of the kitchen was all cabinets and it was enough storage for us, so we were willing to sacrifice the other side and go with an open shelving concept.
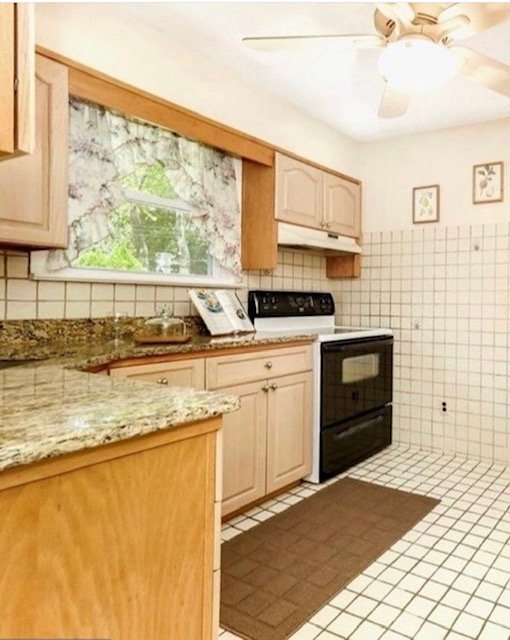
Are you ready to see what the finished kitchen looked like? Here you go…
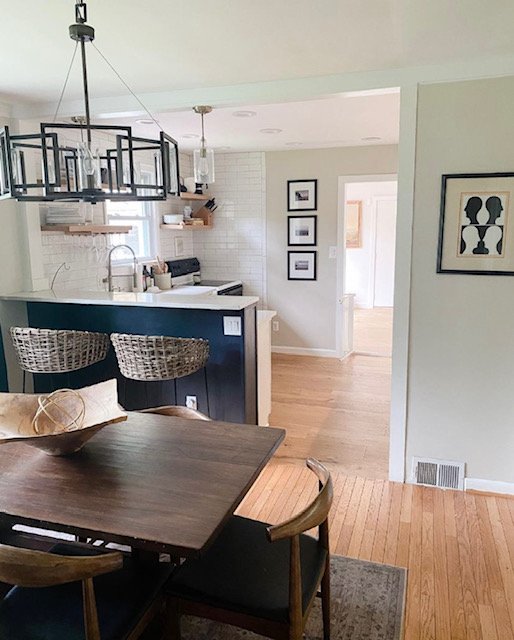
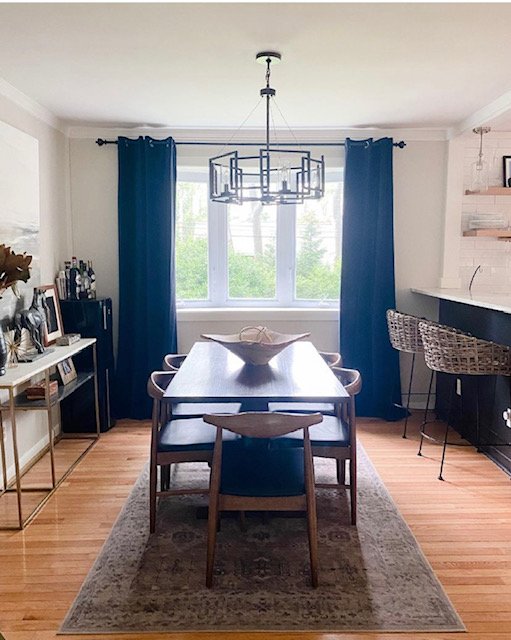
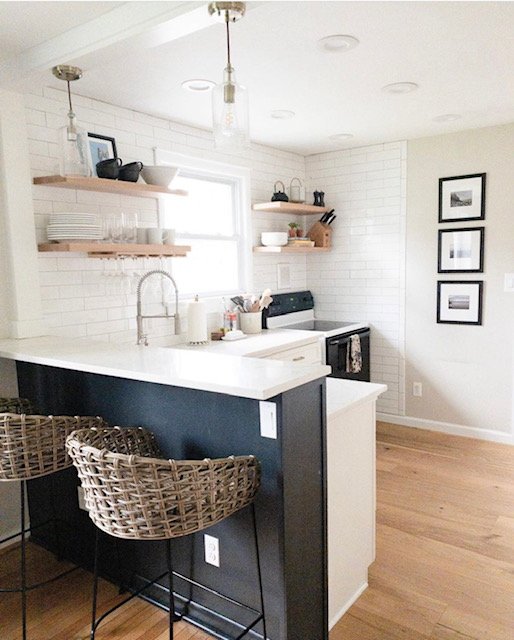
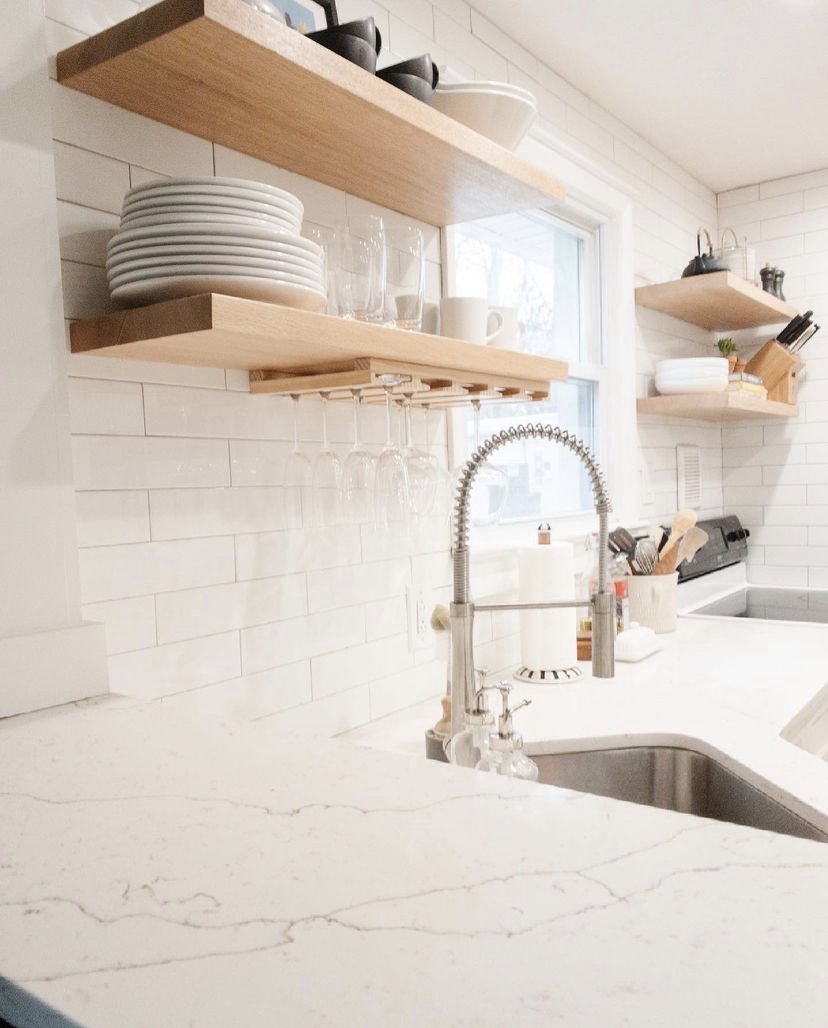
Look at how much light pours into the kitchen now that the wall is down. It now gets natural light from the large dining room bay window as well, which was a game changer. Swapping out the wall cabinets for floating shelves on one side of the kitchen gave it a more open feel and I was able to bring in an organic element to the space to help with cohesiveness throughout. We painted all of our cabinets in SW Alabaster and replaced all hardware with champagne brass handles. We took down all of the old floor tiles that went up the wall and replaced with new flooring and drywall. The walls were painted the same color at the dining room BM Edgecomb Gray. I wanted everything to really feel like it flowed, so I was sticking to the same color palette throughout. Since the kitchen was the biggest project that we did in this home, I felt as though you guys would appreciate the detailed before and after photos. Now I will share the rest of the after photos! Enjoy!!!
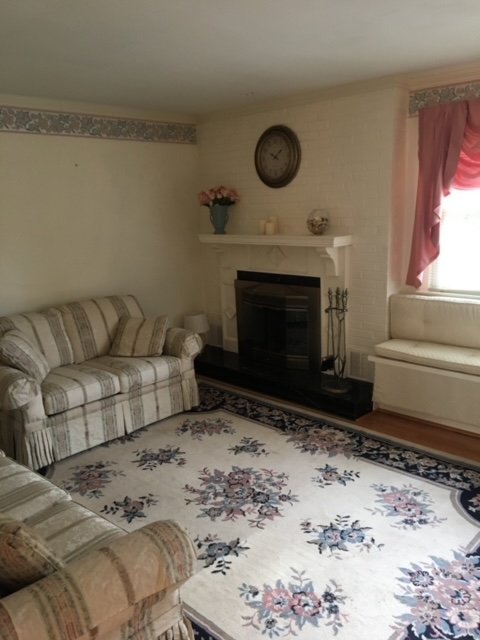
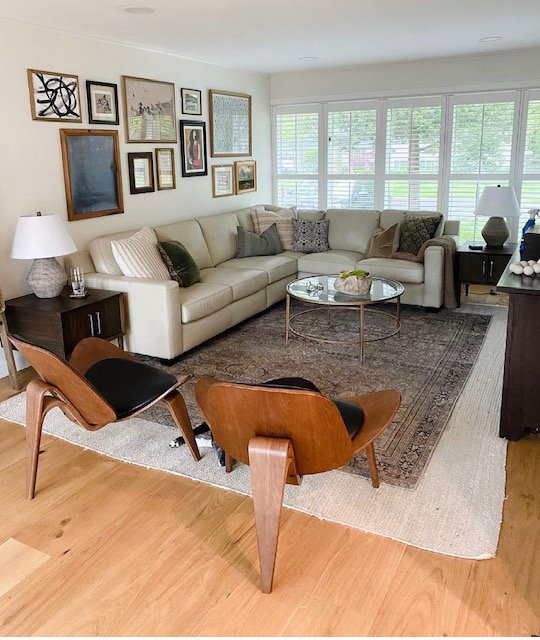
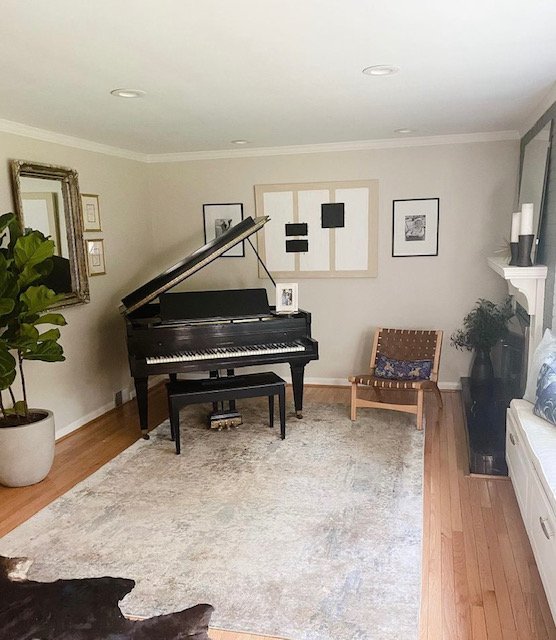
Family Room Changes: Removed all wall paneling, changed the window treatments to white plantation shutters. Painted walls in BM White Dove, new flooring.
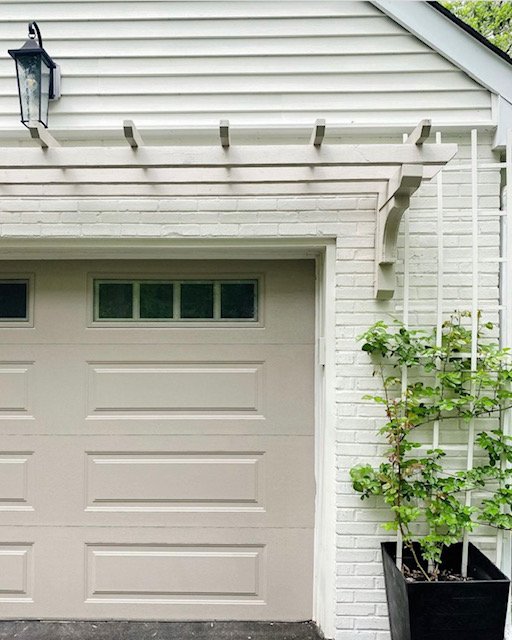
Front Exterior: Built a new front porch, made it much bigger so that I could decorate and put my plants out. Painted exterior brick and entry door.
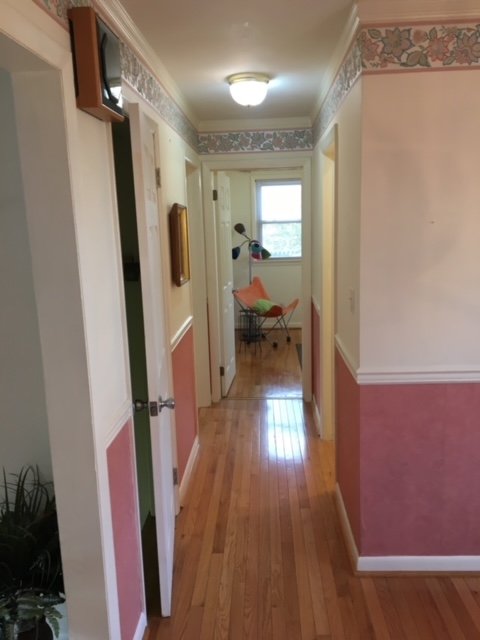
All the rest of the rooms were just cosmetic changes using paint and furnishings!


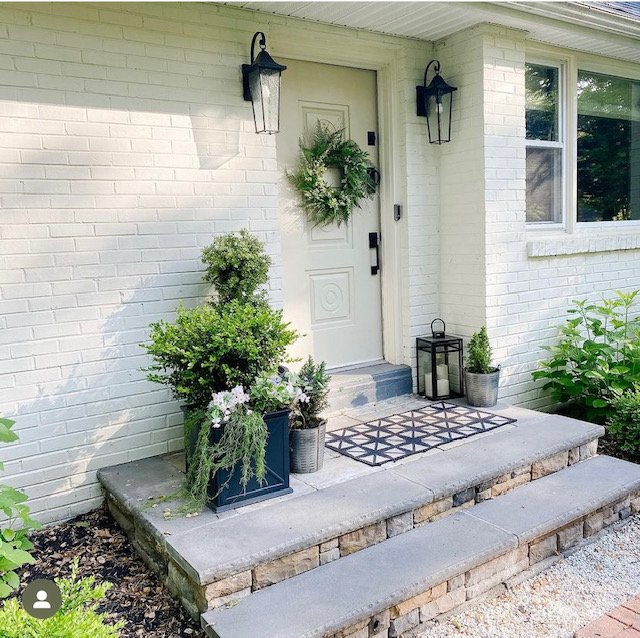

All that you need is a vision and to be prepared to take on the project! There will be bumps in the road and it may tackle what feels like forever to get it completed, but in the end, it is so worth it!! If you are wondering about what colors we used on the exterior; Brick is painted in SW Oyster White and the front door is BM Stone Hearth.
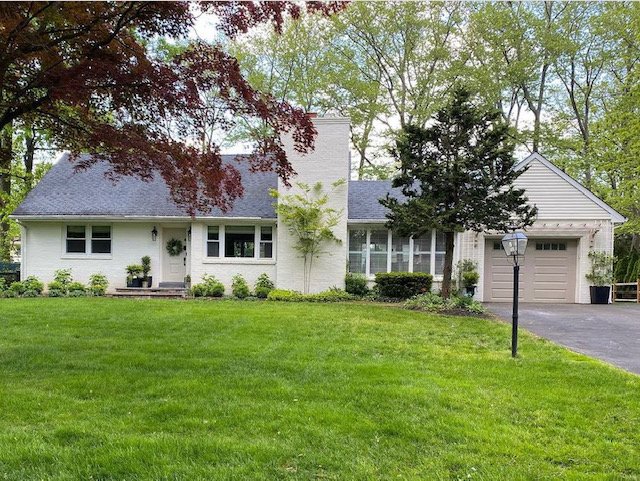
Three years later and this is what our house looked like.

I think that we nailed it and gave it some really nice charm. What do you guys think? After all of that hard work we put into our first home, it wasn’t long after we finished all of those spaces before we ended up moving. On the brightside though, we made that home so much more functional and livable for another family! That is a win for me!
XX,
Christie